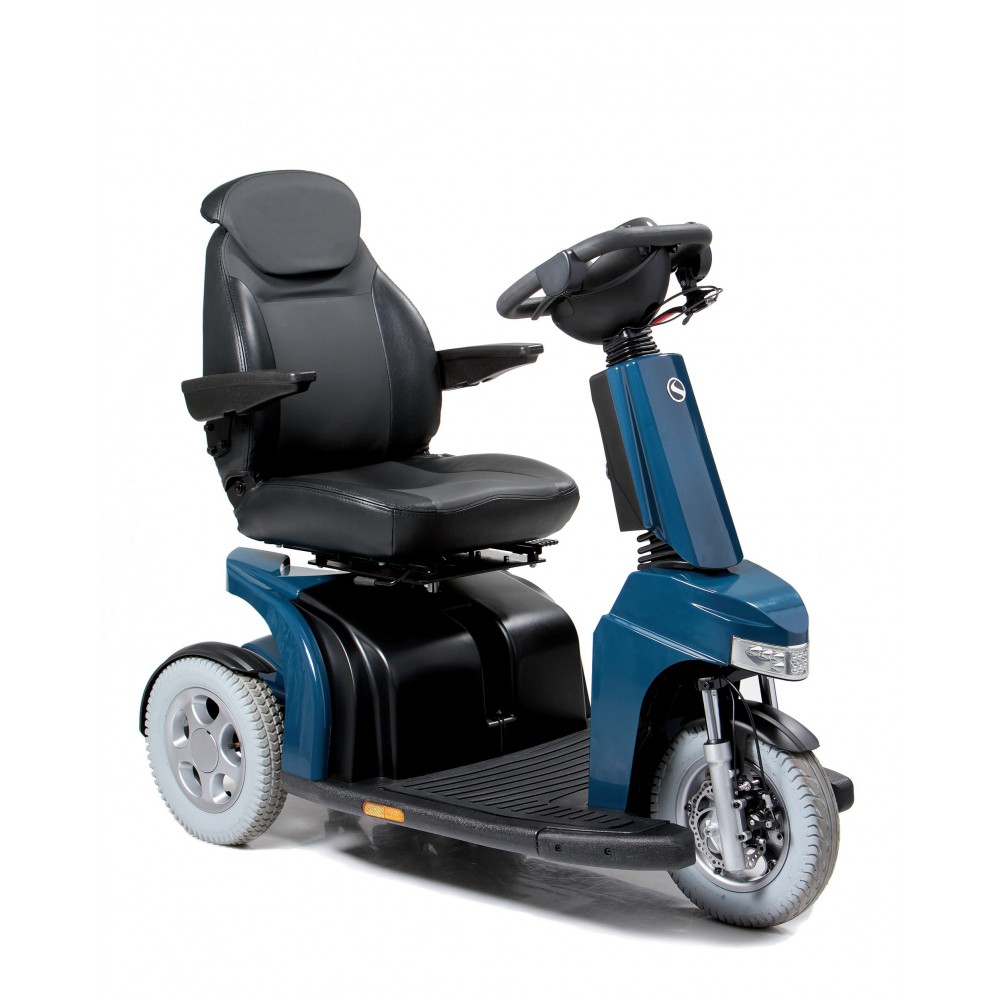
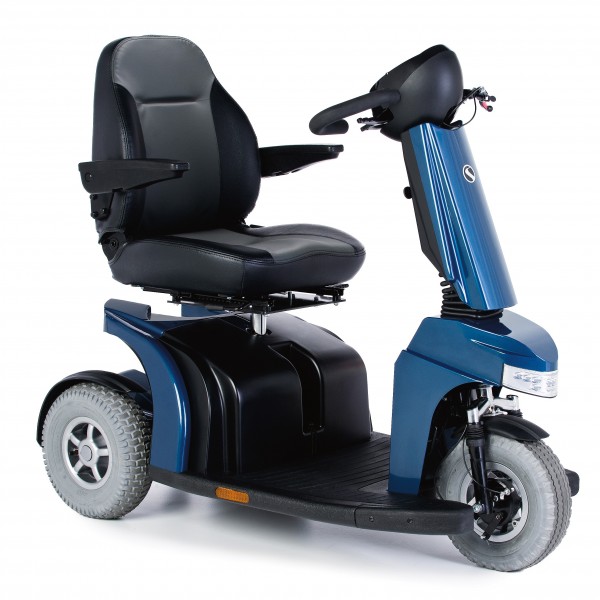
Scooter Sterling Elite 2 Plus
Eletric Scooter
Customise your scooter

|
Rear-view mirror Elite |
|

|
Support for Walking Sticks and Crutches Elite |
|

|
Headrest Elite |
Scooter Sterling Elite 2 Plus
Manufactured by the brand Sunrise Medical, is produced with high quality materials, incorporates the front shock absorbers that help absorb the irregularities of the floor and drum brakes for increased comfort and precision in braking. Equipped with large wheels of 14“, it can attain maximum speed of 15 km/h, it also has an advanced electronic system, and rear suspension hydraulic adjustable. So the proporcionar a driving incredibly pleasant and maximum safety on the road.
Standard Features
- Version: 3 wheels
- Speed: 15 km/h
- Batteries: 70 Amp
- Maximum range: 44 Km (calculated under test conditions)
- Disc Brakes.
- Anti-tip wheels.
- Mudgard.
- Rear Bumper.
- Height adjustable handlebar: 5 cm.
- Foldable armrest and adjustable at an angle.
- Front Bumper.
- Adjustable hydraulic rear suspension.
- Compartment at the bottom of the handlebar for transporting objects.
- Front Basket.
- Lights and indicators.
- Approved for users up to 175 kg.
- Color: Blue
Dimensions
- Front and rear wheels: 14”.
- Total length: 139 cm
- Total width: 65 cm
- Turning radius: 140 cm.
- Adjustable seat height: 44 to 54 cm.
- Seat Depth: 46 cm.
- Seat Width: 47.5 cm.
- Backrest height: 51 cm.
- Maximum safe slope: 15º.
- Distance from base to ground: 13.5 cm.
- Total Weight: 140 Kg.
- Battery Weight: 23 Kg.
- Seat Weight: 17 Kg.
- Maximum height of walks: 10 cm.
General Instructions Battery Charging
- Charge the batteries over night, regardless of whether the scooter is used more or less.
- Do not interrupt the charging cycle.
- If you do not use the scooter, it must remain connected to the charger until you are back in use.
- Charge the batteries for at least 8 hours to ensure full charging.
- Charging Process:
- 1 - Make sure that the scooter is switched off.
- 2 - Connect the charger to the scooter (Charger socket at the rear of the tiller panel)
- 3 - Connect the charger to the eletricity.
Technical Information
- Catalog (Click here)
- Order Sheet (Click Here)
- User Manual (Click here)
Increased shipping cost for deliveries from the first floor


